technology for creative work |
|
|
| www.dtptools.com | ||
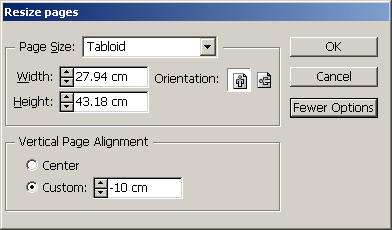
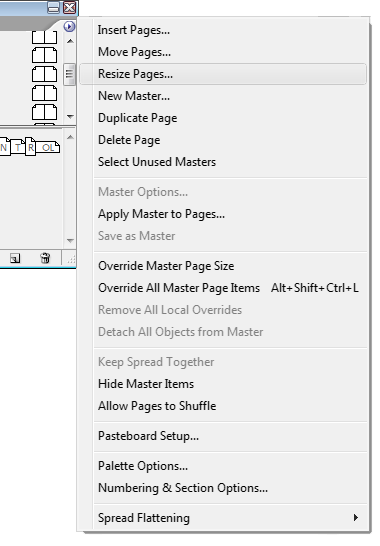
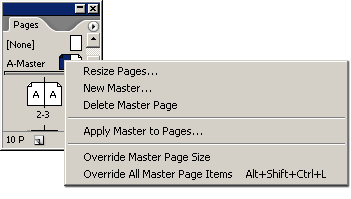
Page Control for Adobe InDesignUsing tipsResizing single page or selected pages onlyChoose page(s) you want to resize in the Pages palette list and click on the Resize Pages item. Basic functions and where to find themOverride Master Page size - this means that the page will maintain its size even if the master page for it will be resized. Pasteboard setup - this item allows you to enlarge the pasteboard area. If the page size will require pasteboard to be bigger than your settings, pasteboard will be enlarged automaticaly. DTP Tools Page Control - here you can find the interface for purchasing the plug-in, support and feedback and about dialog. Creating the spine for a perfect bound documentCreate a 3 page spread with the middle page 4.233 mm wide (minimum page size in InDesign)and set up bleeds according to your needs. To be able to resize page to the smallest size, the document margins and gutter have to be minimal too. Create a text frame of the same width as the middle spine page. Create anchored frame of the size sufficient for the entire spread and bleed in the text frame. This will ensure that the wrap around graphics is centered on the spine. Exporting to .eps with correct crop marksWe recommend to use Adobe's free sample script for InDesign - Crop Marks. Use separate master pages for differently sized pages. You can use the script to put crop marks around the otherwise invisible frame same size as the page and set bleeds when exporting to fit the crop marks in. Page Control resize dialog - Windows
Page Control palette menu
Page Control context menu - Windows
Back to Page Control for Adobe InDesign Home Learn more about Page Control for Adobe InDesign
Related resources |
||
| © 2004 - 2021 DTP Tools Ltd. All rights reserved. Legal Notices. Disclaimer. | ||